I’m in my Jeep, Emily, driving north to Inuvik, North West Territory, past the Arctic Circle, right now, chasing beauty as autumn comes to the tundra. I’ve got a couple bags full of gear and a couple tripods in the back of Emily, a luxury I seldom have, but I’m hoping to play a little while I’m working hard, so I’ve got film and digital gear, as well as larger glass in hopes of some wildlife. I’ll post when (if) I can, but don’t hold your breath, cell coverage is sparse in the north and I look forward to being unplugged. If you follow me on Facebook or on Twitter, I’ll have live tracking from my SPOT device so you can see where I am. If the technology doesn’t fail me, you should also be able to TRACK MY JOURNEY HERE. In the meantime, here are some tips if you’re looking to hone your own landscape photography.
LANDSCAPE ORIENTATION? NO SUCH THING.
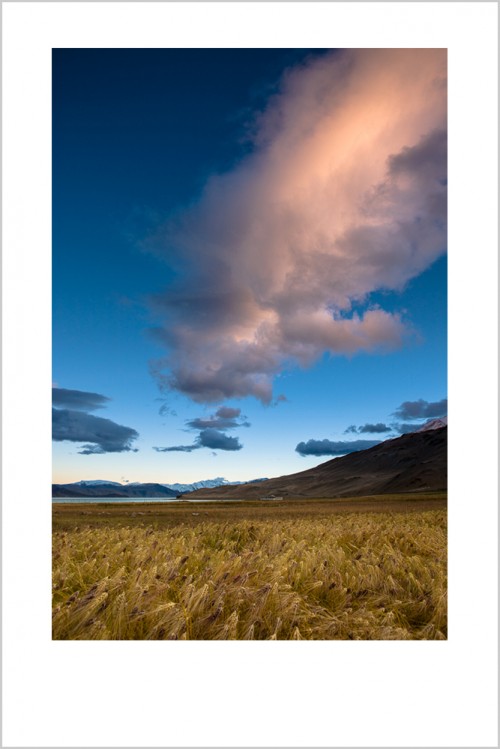
There is no such thing as “Landscape” orientation, any more than portraits can only be made in “Portrait” orientation. Let the lines and relationships, and what you are trying to say, determine your orientation.
DEPTH OF FIELD PREVIEW
Use your depth of field preview to get a sense of focus, but I find it very dark. Instead I use it to help me place my graduated ND filters. Here’s tip #2B – If you aren’t using polarizers and split ND filters, you’re missing out on powerful tools to control the aesthetic of your image. Don’t fall for the “digital photographers don’t use filters” line.
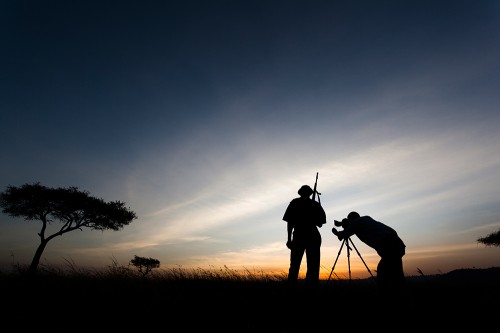 Me with my tripod and bodyguard in Kenya
Photo Credit: Regis Vincent
USE YOUR TRIPOD
Work the scene and take advantage of the tripod. Lock off the shot and take a safety or two, without the grad filter, in case your grad placement is off, or your polarizer is vignetting. I do the same with my longer exposures, bracketing a few more and a few less seconds, just in case. A tripod is for more than just avoiding shaky images. They make composite work possible, as well as panoramas, and yes, sharper photographs. But turn off the vibration reduction on your lens.
BE PREPARED
Be prepared for weather changes and contingencies. Tuck a small first aid kit into your bag, along with a bottle of water and a meal bar. Bring a flashlight in case the light surprises you and you stay out after twilight. Bring a cell phone, long range radio or sat phone. The fact is, some of the most beautiful landscapes are remote and to place a higher priority on your photographs than on your safety is foolish. Be prepared.
DON’T BE SEDUCED BY YOUR SUBJECT
Landscape photography is like any other photographic discipline; your subject alone will not carry the shot. You can have amazing mountains, great water, gorgeous lines, and still make a boring photograph if you pay no attention to composition and light. A photograph of a great landscape is not the same thing as a great photograph of a landscape.
PLAY WITH SCALE
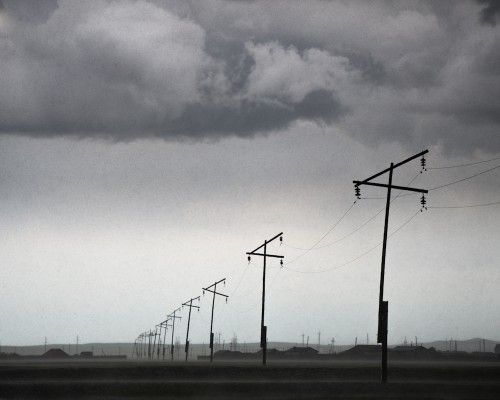
If you want to show how vast a desert is, you have to create a sense of scale. You know how vast it was, you were there. But for the reader to sense it, you need to give them a visual reference. A car, a tree, power-lines. Anything they can recognize and from that extrapolate the size of the rest of the frame. Without that, it’s just a desert, but with it, it’s, “Wait, is that tiny thing a house? That desert must be immense!” The same applies to mountains, or trees. It applies in reverse to tiny objects as well. A tree frog is just a frog until you photograph it on a leaf which dwarfs it.
LOOK FOR CONTRASTS
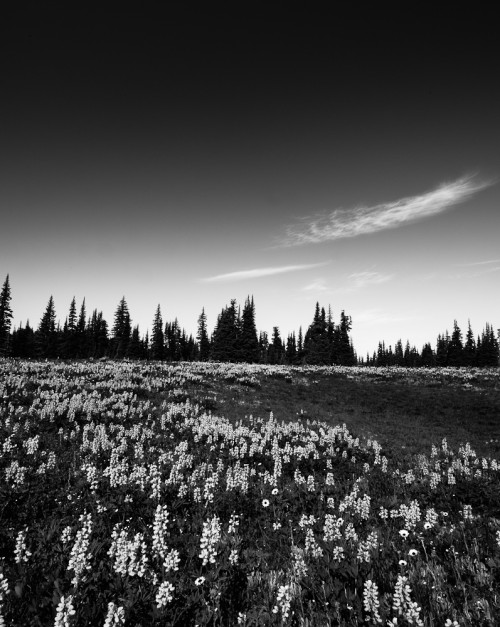
Contrast provides interest in a photograph, and can help propel a sense of story. Contrast of colour (or tone if it’s going to be a black & white photograph like the one above), line, shape, texture, light, all pull the reader in, give them something specific to look at. Ask yourself, Where are the contrasts in this scene? Then point your lens that way.
GET GREAT BOOTS
Get a great pair of boots and start walking. Photography is about exploration, curiosity. Move around, go a little further, see what’s behind that next corner.
CHASE BAD WEATHER
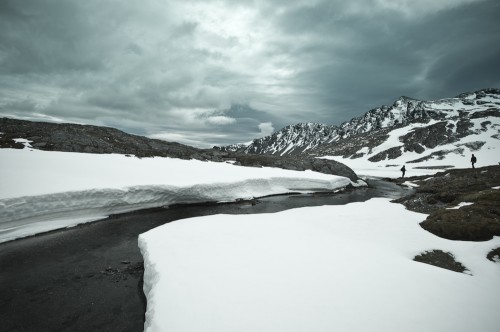
The best landscapes, and the most dramatic photographs, seem to take place at the edges of weather patterns. Look for fog and rain and snow and go for a walk when it arrives. The shot above was made in driving rain, and it’s the cloud and rain that make the shot.
SLEEP IS FOR THE WEAK (OR MID-DAY NAPS)
Arrive early. Leave late. Pre-sunrise and post-sunset are amazing. I’m constantly surprised by photographers who shoot sunset and immediately pack up when the sun dips below the horizon. Give it another hour, the best may yet come.
STUDY
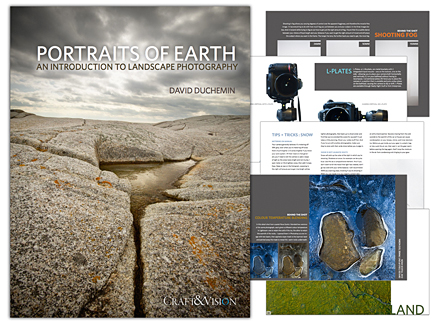
10 tips aren’t going to do it. They’re a start. But the best thing you can do is study this craft. Look at books of great landscapes and learn from them. You don’t need EXIF data or words from the author telling you how she did it. Figure it out. Want more? Read Portraits of Earth, my latest PDF ebook available on Craft & Vision. I poured my heart into this one, and it’s full of practical stuff, great photographs I’ve not published before, and loads of no-nonsense advice, tips, principles, and yes, even EXIF date. It’s 90 spreads long – 180 pages if you still count them the old way. By comparison, my first ebook was 15 spreads / 30 pages. And the price is still just $5. You can download Portraits of Earth HERE.

Comments
Hi
Is your Portraits of Earth e-book still available.
Thanks
Nicola
“DON’T BE SEDUCED BY YOUR SUBJECT”.
That is sure the important one, that’s often missed out. Thnx.
First one pic of sky is awesome landscaping pic
Pingback: Weekly Photography Links – September 10-16, 2012
Pingback: browserFruits September #3 - kwerfeldein - Fotografie Magazin
Pingback: Better Landscape Photographs – 11 Tips – David duChemin | Taking The Picture
Great to read your post. Thanks a lot.
Only just found your blog – bookmarked! Great article and some very sound advice – it’s good to see a lot of these posts coming up – means that there’s a much larger awareness of the basics.
I think if I were to consider the technical factors the most noteworthy, for me at least, are the importance of a steady tripod, a remote release cable, and mirror lockup. Anything you can do to keep the shot as sharp as possible is good!
Love that you mentioned bad weather – photography is at its best when the weather is at its worst… well… I guess as long as I’m not being struck by lightning, being hailed on, or being sucked up in a tornado 🙂
Cool, cool David, great tips and love these dark and stormy scenes! Be advised sir- on my Mac when I look in my Top Sites interface there is usually a blue star on the page when there is new content and that seems to be missing on your site- so I missed that there was a new blog post for a couple days. I’ve noticed this on a couple other of my favorite sites, not recently but that some seem to enable the blue star system and others don’t.
Great success with your excursion- get some awesome shots and stay safe out there! -Nate.
I have been re-reading some of the older e-books… it has been interesting to see/read the growth of your journey… and of course hopefully we are all on the path of growth… it is one of the ways we stay fresh…
Nice little write-up, David. I really enjoyed reading Portraits of Earth, and I can tell you enjoyed writing it.
It’s kind of funny, I was reading some of your archived posts from 2008 where you still maintained a healthy distance from those crazy landscape photographers who always woke up too early to be any kind of sane. Well, my friend, it’s fun to see you move beyond that disassociation, and might I say it, fear, and begin exploring your own path of creating portraits of our gorgeous planet. 🙂
Thanks David, for the tips. Also, I really enjoyed Portraits of Earth ~ lots of great info, practical advice, and wonderful inspiration!
Happy and productive travels to you.
“Lock off the shot and take a safety or two, without the grad filter, in case your grad placement is off, or your polarizer is vignetting.”
Simple yet crucial advice. Didn’t do this on my trip in the northern Andes can vignetted some great shots that relied on the full frame to work. Kick myself every time I look at them – just wish I had taken some safety shots…
Really good tips David, cut above the usual, obvious tips.
I recently put a similar ’10 tips’ post on my blog which shares a number of these: http://www.duncanfawkes.com/2012/08/06/10-ways-to-improve-your-landscape-photography-2/
Regards depth of field preview, I totally agree this is pretty difficult to use particularly during twilight. However I’ve found this really comes into its own when using LiveView. Unless its super dark, you normally get a bright enough image to see if something (eg white spot on a rock) is in focus. Using this at 10x zoom on LV and moving the cursor from foreground to background, changing the aperture at same time gives you a really dynamic and real way of nailing focus. Yes you can use DoF charts (if you have a distance scale on your lens) but I quite like working like that.
Re portrait – totally 90% of my “landscapes” are shot in portrait orientation.
Hey David,
Have a great trip up North! Great to see you have film on board.
Ca Tunk!!
Best,
Craig