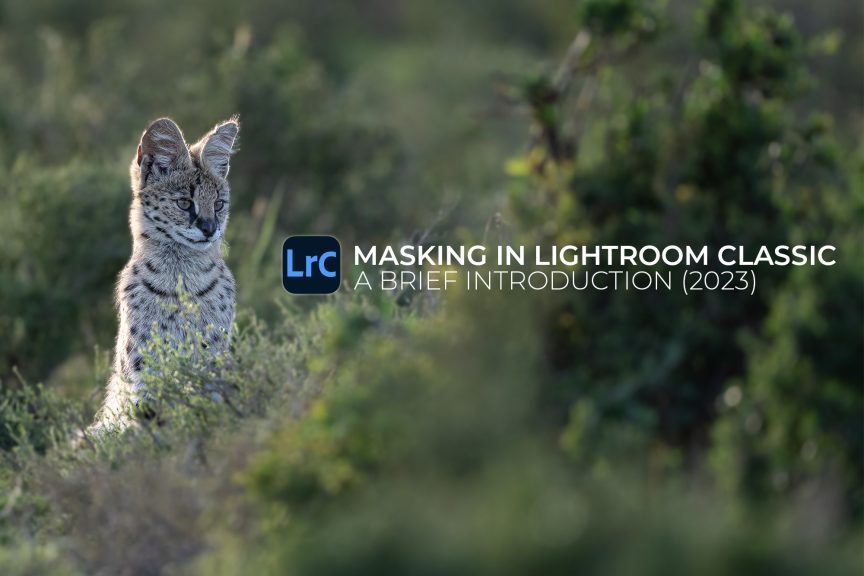
I love the masking tool in Lightroom Classic and it has seen some changes over the last few iterations, some of them pretty significant. I was asked recently about this and it seemed like something you might be interested in if you’re a Lightroom user. If you do any dodging and burning at all, the new AI functions are game changers, and they’re super easy. In fact, they’re so easy it might convince some of you to do a little more work with local adjustments to draw the eye to what’s important in the frame.
The easiest way to teach this is with video so I’ve put together a 20-minute tutorial for you. You can watch that below.
I hope this is helpful to you. If you’ve got questions that I can take a shot at answering, leave them in the comments.

PS – Want more like this? I send these articles out every two weeks to photographers around the world who want to improve their craft and explore their creativity and I’d love to include you. Tell me where to send it and I’ll send you a copy of my best-selling eBook Make Better Photographs, as well bi-weekly articles, first-glimpse monographs of my new work, and very occasional news of resources to help you keep moving forward in this craft we love.
“Each and every one of your emails inspire and motivate me to want to jump right out of my chair away from my computer and shoot for the love of it . Thank you David.” – Millie Brown


Comments
Thanks for a very helpful video. The masking tools are such great tools and Adobe has made them so easy to use.
David, this is great stuff – and the best thing is HOW you explain it! There are a lot of tutorials available but for me this is the best: You explain and show what you do in a clear way, you have excellent examples to demonstrate it and I can follow your arguments and thoughts.
For me: A+++ what you do here.
Juergen
Oh my, this is exciting! Thank you so much for the tutorial, David. I haven’t had the latest functionality in Lightroom as I can’t upgrade my lovely old Mac Pro (the big old ton weight tower beast), but I’ve just got a new MacBook Pro. Working on a 13″ screen instead of 24″ will feel so much less limiting with these new tools.
You are such an excellent teacher! Thank you for sharing your workflow. I love the new masking tools. The images are gorgeous as well.
Thanks again David for the insight on the tools that can make life so much easier and enjoyable.
I did have an issue at the beginning of the video; that lamp over/behind your left shoulder was distracting for me; it’s so cool, I want it… where did you get it? I really don’t want to come and steal yours…
Thank you David. One of the things I struggle with is that I’m still on LR 5.x (no internet needed). Seeing the updated tools makes sense when watching this. Food for thought for sure (always a balance for amateurs in deciding if monthly fees are worth it if I’m not doing as much photography as a pro).
Hi David, nice tutorial. I don’t know if you are aware but if you want to delete the sky from a mask, you can easily delete it by subtracting the sky instead of using the brush.
Excellent quick tutorial. Thank you for taking the time to do this.
Wow! Thanks for this, Zi just got back from Africa and will be trying this out. !!!
Fabulous
Thanks for the article. I mostly shoot headshots in the Detroit area. Masking is a skill I continue to work on, and now I feel like I have additional knowledge to apply.
Thank you David, I really appreciate your openness. I got frustrated recently when I asked a photographer about their processing and their reply was they try to get it right in camera. Sure! Don’t we all! But if you shoot raw you have to do some post processing!
Anyway, I am new to LR and it is a game changer. So far though I keep getting an error message saying AI couldn’t detect. Hope I can solve that soon because you’ve shown how cool it is when it works!
Great vid, thanks for delving into this great new addition to LR and ACR. Is there a way that you have found to (easily) soften the edges at the transition between subject and sky or background? I find in some cases, like you did, a halo or unrealistic transition can occur with even mild edits. I assume you could create a brush at low density and erase/add around the subject but thinking there may be a better way…
Thanks a lot David!!!
Thanks so much , very easy to follow and to use.
Thanks David. A really helpful video. I’ve been using the masking option in LR for a while now and love it but I never knew about the duplicating and inverting option. I’ll be giving that a go. Also the single line in the eye to create a catch light…. Love it. You’re very generous in sharing all this useful information
Thanks David. A really helpful video. I’ve been using the masking option in LR for a while now and love it but I never knew about the duplicating and inverting option. I’ll be giving that a go. Also the single line in the eye to create a catch light…. Love it. You’re very generous in sharing all this useful information so thank you again
Learnt a lot from your video on masking. Thank you so much.
Thank you David. I’ve had difficulty with LR finding the subject and masking too much now I feel much more confident about subtracting. I also didn’t know what the invert and duplicate feature was all about, now I do!!
Paula
Most helpful! Thank you, David.
Incredibly helpful, succinct and easily understood per all of your videos, David. Thank you.
Thanks very much David – great video.
Very useful demo! Thanks.
thank you very much
C’est très très intéressant
Geneviève
Really useful, thanks David, and something that I definitely be trying out over the next few weeks. Looking forward to part 2!
Clear and concise. Thanks David
Amazing. Thanks for sharing David!
So very helpful! Even though I had been using the new masking, I picked up additional tips I was not aware of. Keep these short videos coming.
Thank you David. Very informative and touched on a few functions I wasn’t aware of. Looking forward to your next video.
Thank you for a great informative video! I look forward to the next lesson!
The details about how to use the tools is very useful. Thanks
So well presented David. I have read the information but this really helps. Thank you.
Thanks for remembering the CC. I guess it means you still like me 🤓!
I definitely still like you, Steve. 🙂 But the truth is we had NO idea that was an option. In the spring of 22 it looks like Vimeo added this as an option. Glad it helps, though! I wonder if it now does this retroactively – like for the courses you’ve enrolled in – do they now show that option? That would be great! Let me know if you discover anything…
Will do. Didn’t realize it was Vimeo. Thought it was YT or something similar. They have been one of the worst for me for watching videos.
Forgot to mention that the duplicate and invert by right clicking was something I did not know. Thanks for sharing that along with everything else. Looking forward to the saving as presets video!
A very helpful video, as I’m starting to use the new masking tools. I’m looking forward to the next one.
Wonderfull example and wonderfully presented ! Much appreciated
These new AI additions to LR I also find pretty amazing. I am excited to listen to the next video re: presets! Thanks for all you do, my friend!
Thank you!
I have discovered most of these features already, but I still learned new things.
So well produced!
Looking forward to the next installment as well.
Hi David
Excellent video delivered so well. Thank you for sharing your knowledge and I look forward to Part II.
Stacey
Thank you. This was very helpful. I hadn’t used the Invert & Duplicate option. That option solves some problems I’ve been having with masking. I hadn’t been aware of the + and – functions either. Great info. Thanks again.
Thanks David
I certainly enjoyed your presentation and the content of this video. One of the reasons I changed OS from MacPro to Windows was because I could no longer upgrade my aging MacPro to allow forthese new Lightroom and Photoshop versions. Certainly the ability to selectively tone and adjust portions of the photograph in an AI manner has been the holy grail for many years now.
I’m curious about what appears to be a cloudy ‘halo’?? on the left side of the elephant (as we see it). Did the process introduce that to the image or was it there all along?
Cheers, Don
This happens a lot when changing the highlights to the left or with extreme sharpening.
Just love the enthusiasm that comes across in your emails and videos, Still getting to grips with the capabilities of the new masking facilities in Lightroom and certainly found that some ‘average’ images can be dramatically improved. Thanks for taking the time to share your expertise.
David,
Thank you for sharing , great demonstration of the capabilities.
A great little tutorial, looking forward to part 2.
Roger
Thanks!
Not a question, just a thank you – this was very helpful, informative and easy to follow so thank you!!
Thank you for sharing your knowledge and insights.
Thank you so much David for sharing. Great tutorial!
Really helpful, Thank you David
I LOVE this tutorial! I have been using some of the new masking options – even whitened my teeth in a photo! – but this tutorial is a wonderful introduction and reminder of the many updates and improvements that LR has done. I’m looking forward to your next tutorial.
Love your video
This was a very helpful video. Well done! I would love to see more like this.
Thanks much David. I had not been aware of the + and – functions
Helpful video on masking, David.
I use these wonderful tools frequently. It occurred to me that thousands of my Oldies could be greatly improved using LR masking. Perhaps I’ll go back and reconstitute a few. Well, on second thought, maybe not, life is too short at this stage of the game;
Jan