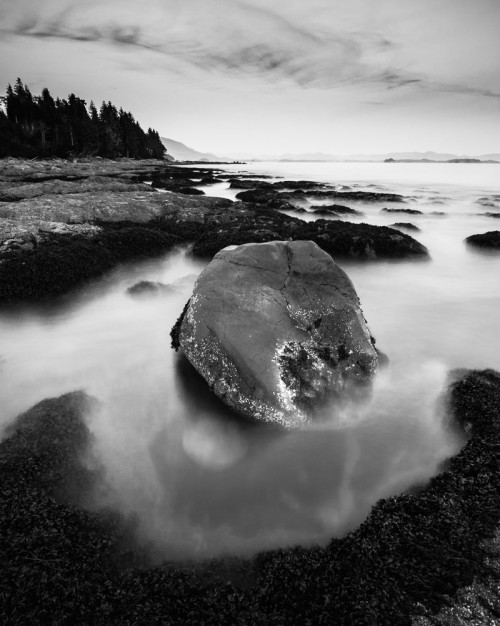
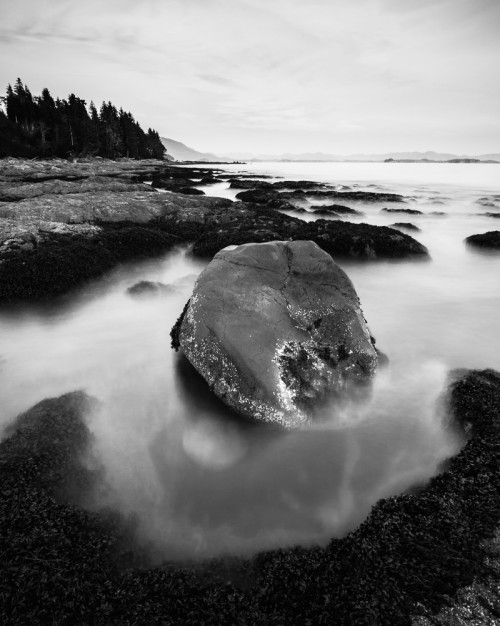
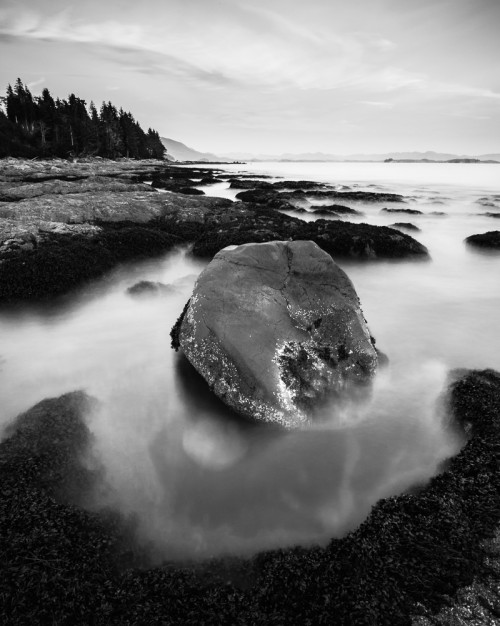
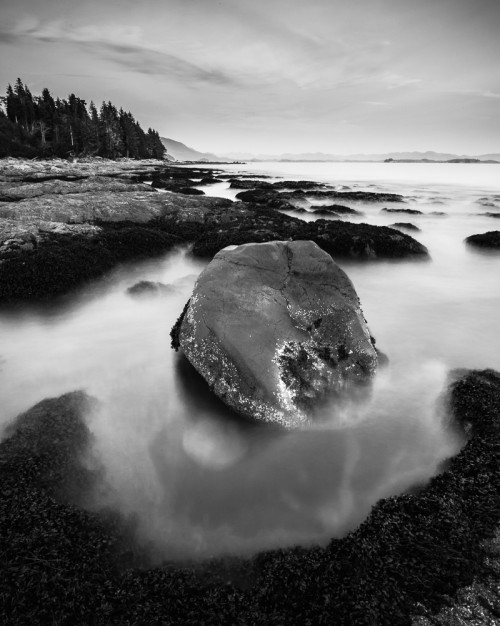
 Near Tofino, BC. 4 Different Skies.
The key to great black and white images (and by this I mean the B+W part, obviously light, lines, and moments still come first) is tonal contrasts. Those contrasts will occur within the scene, of course, but the way we chose to render them in Lightroom (or PS, ACR, etc) has a strong impact on those tonal contrasts and the way the eye reads the final image. One of my favourite improvements in Lightroom 4 is the ability, in the graduated filter and the adjustment brush, to dial in colour temperature and tint. In the image above I’ve changed only one thing from version to version: the colour temperature of the graduated filter I laid over the sky. From top to bottom the Colour Temp settings were 29, 0, -32, and -100.
This is a good example of what can be done globally in the entire image. It’s worth remembering that in Lightroom you aren’t really working on a monochrome image. You’re working on a colour image with a monochrome filter on top. So moving the colour values around underneath that filter – either with temperature or with the channel mixer (Black and White Mix) – will change the tonal values you see in the resulting image. Different tonal values, different contrasts, and different visual mass – in other words, a different feel for the image, and new ways for us to hone our expression. Below are two different versions of the same image, using different settings (as indicated) in the Black and White Mix. I know which one I prefer, but it’s that: preference. Knowing how your choice of tools will interpret the scene in front of you will help you make the aesthetic choices that best suit your intent.
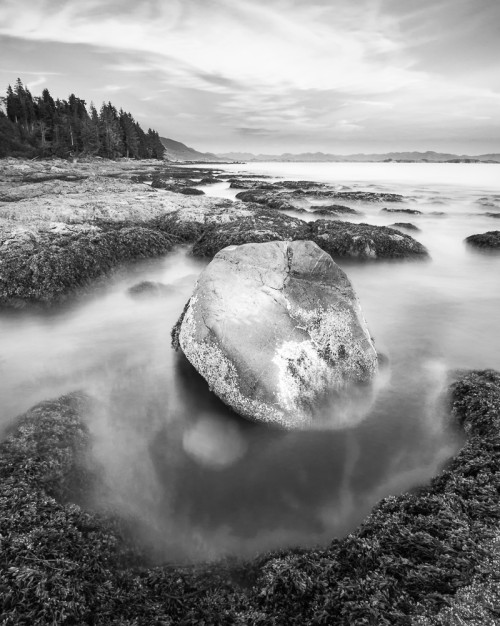 Black and White Mix: Red +54, Orange 0, Yellow -2, Green +8, Aqua -35, Blue -81, Purple -100, Magenta -40
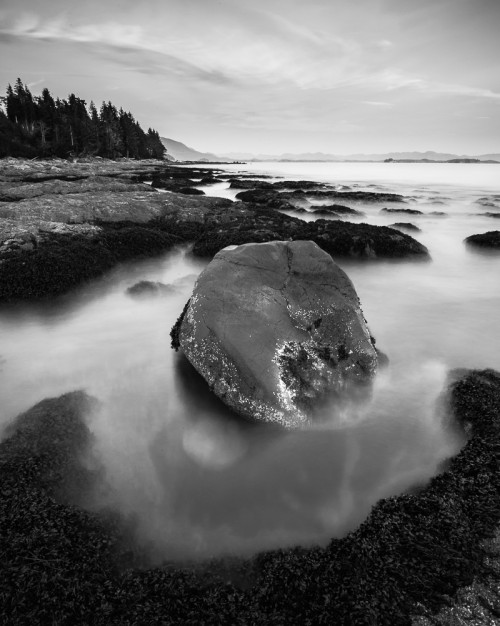 Black and White Mix: Red 0, Orange -45, Yellow -58, Green -26, Aqua -21, Blue -13, Purple -31, Magenta -32

Comments
Pingback: Weekly Photography Links for October 8-14, 2012
Great post David. When doing a B&W conversion, I play around with the sliders in the B&W mix, but had never thought of using the gradient or brush tools for localized B&W effects. Thanks!
Pingback: Lightroom 4 and Black and White « Oxford School of Photography
That`s true. There is no ” good picture” or “good color” etc. It`s always your idea.
This kind of precision (and then some) is possible with Silver Efex Pro 2 as well. 😉
Nice demo, good info on the power of Lightroom 4. Thanks for sharing David.
Just my two cents, but considering the two bottom images, I prefer the top, lighter one. To my eye it’s more dynamic, especially the clouds, but overall, as well.